 Olympic Weightlifting 101: a Guide to the Snatch and Clean & Jerk
Are you looking for an exercise which will take you beyond your mental and physical limits? If your answer is yes, then Olympic lifts may just be what you’re looking for.
I know its name sounds intimidating, but I’ll do you a favour by telling you upfront that you don’t have to be an Olympian if you want to do Olympic lifts. However, these lifts are very different and much more demanding than the other lifts you do at the gym. If you consider yourself a seasoned fitness enthusiast, why not give them a shot?
In this article, I will teach you how to do Olympic lifts. I will also share with you their benefits and basic movements to help you understand them better.
What Are Olympic Lifts?
Olympic lifts are lifts of a maximum-weight single barbell. There are two main competition lifts involved in Olympic lifts: the snatch, and the clean and jerk.
Here’s the difference: the former requires an explosive and fast ground-to-overhead movement. Meanwhile, the clean and jerk requires a “clean” movement where you lift the barbell from the floor and quickly shift into a front squatting position. For the jerk movement, you lift the barbell into the overhead position.
Essential Gear for Olympic Weightlifting
Before you execute your first pull, you must ensure your environment and equipment are up to the task. In the world of the Snatch and the Clean & Jerk, the right gear isn’t just about performance—it’s about safety.
The Barbell and Plates
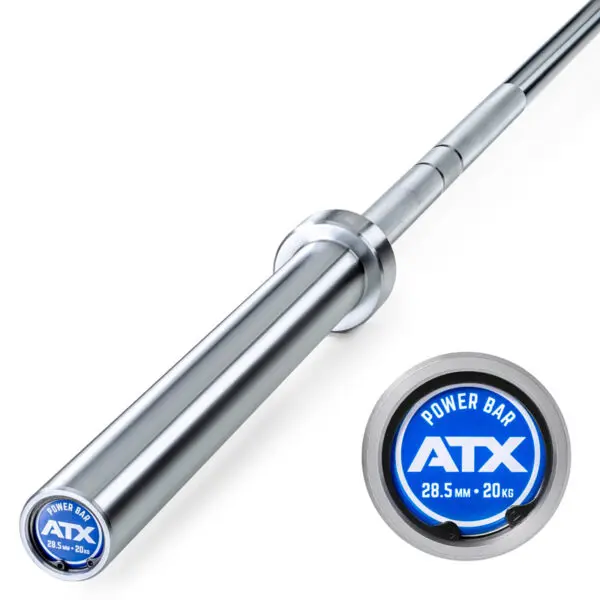
While professional powerlifters might use a stiff bar, Olympic lifting requires a bar with “whip” and smooth-spinning sleeves. For high-level training, choose a durable, solid steel version such as the ATX® Olympic Power Bar.
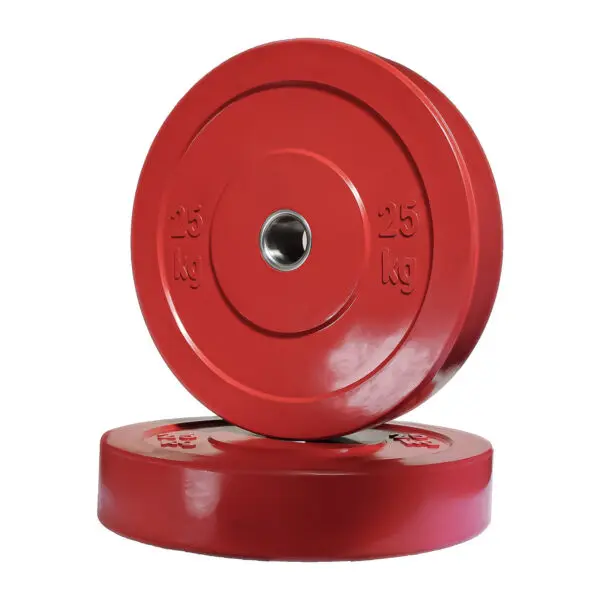
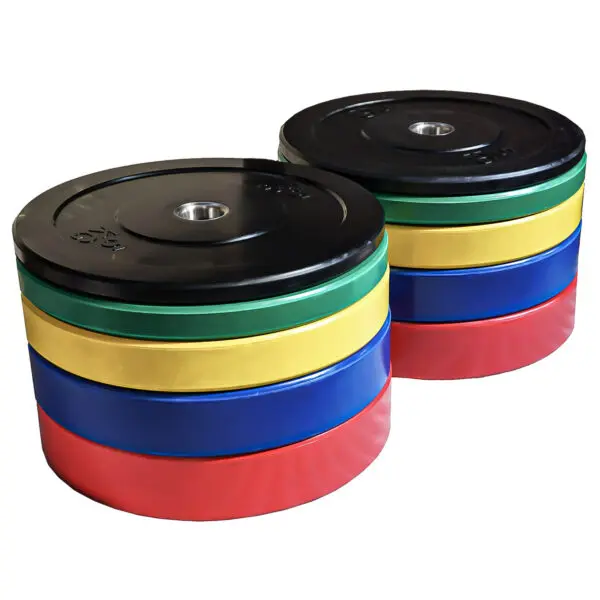
Unlike powerlifting plates made of cast iron, Olympic lifting requires rubberized bumper plates. Because these lifts end overhead, you need plates that can be safely dropped without damaging your floor or the bar. For your station, a quality squat stand or heavy-duty power rack is essential for practicing the “Jerk” and front squat components.
Main Competition Lift #1: The Snatch
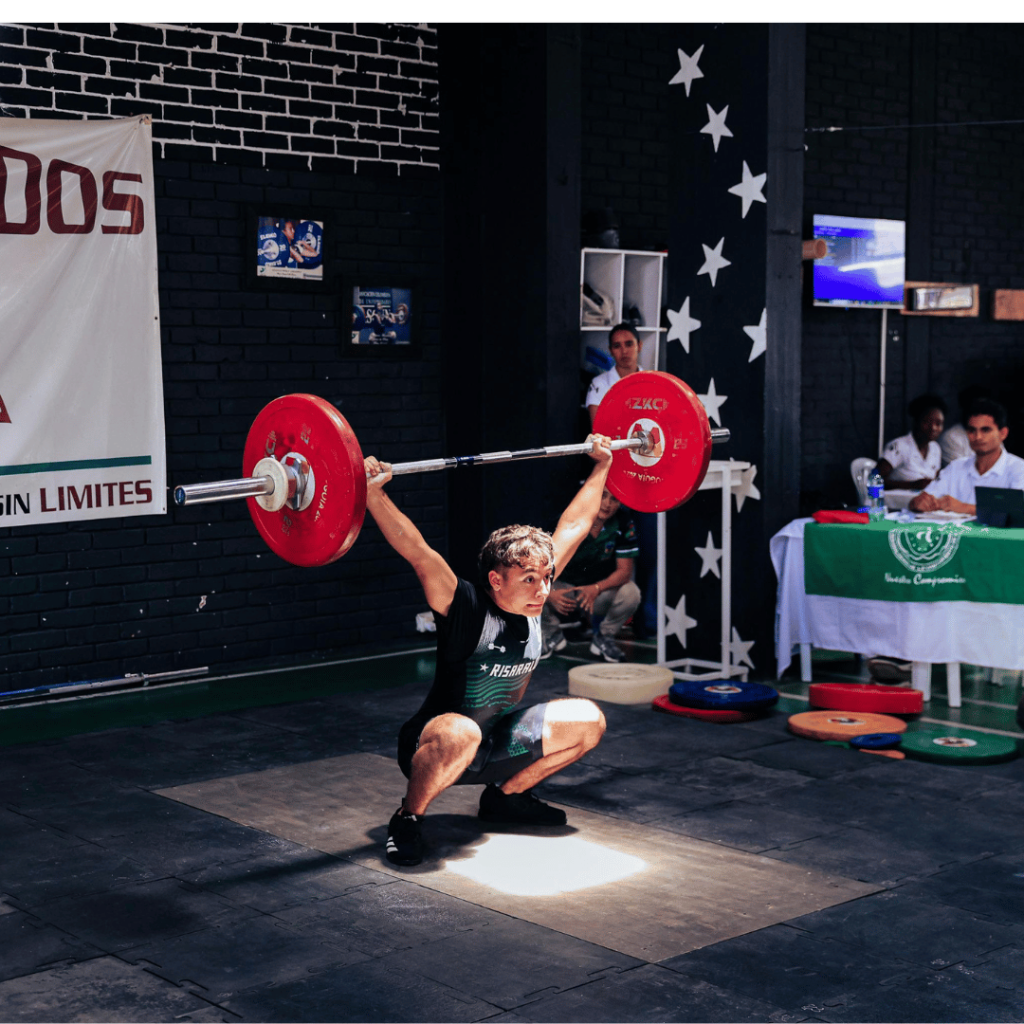
Let’s now delve deeper into the first of the two main competition lifts: the snatch. This requires 2,500 to 5,500 watts of power, which doesn’t surprise me one bit as it takes a tonne of power to lift a barbell from the floor to above your head in one quick explosive movement.
Here’s how you do it:
- To get into the initial position known as the “initial pull,” place your feet shoulder-width apart and then lower your hips so your hamstrings are parallel to the ground and your glutes stick out. Latch your hands onto the bar with a wide, overhand grip. Look straight ahead at all times.
- You will now go to the transition phase where your lower body explodes upward whilst you lift the barbell to your knees. Make sure your hips and shoulders rise at the same rate. Keep your wrists flexed and your knuckles lowered so the barbell stays close to your body.
- Once the barbell passes your knees, scoop it toward your hips. For this particular movement, rely on your hamstring and spinal erector muscles. At this point, plant your feet firmly on the ground and maintain straight arms whilst holding on to the barbell.
- You’ve now reached the triple extension position where you fully extend your ankles, knees, and joints. Keep the barbell when you execute this lifting movement.
- Next, use your wrists to flip the barbell above your head in one quick motion as you settle into a receiving position. Here, your lower body assumes a partial squat position whilst you’re holding the barbell.
- Steady your balance and recover to a full standing position.
Main Competition Lift #2: The Clean and Jerk
The second main competition lift is the clean and jerk, which targets your hamstrings, quads, trapezius, core muscles, shoulders, triceps, biceps, and forearms. It increases your power, boosts your cardiovascular function, improves your core strength and stability, and ramps up your anaerobic endurance.
Here’s how you do it:
- Stand with your feet placed hip-width apart. Point your toes slightly outward for greater balance. Place the barbell in front of your shins. They should be in light contact with one another so the barbell is close to your body during the pull position. Bend your knees and latch your hands onto the barbell with a wide, overhand grip. Make sure your spine is straight, and your hips are between your shoulders and knees in this starting position. Look straight ahead and let your glutes stick out. Brace your core muscles.
- The next step is the first pull. As the name implies, this is when you initially lift the barbell off the floor. When you lift the barbell, push through your legs and back. Ensure your shoulders are over the bar and maintain a neutral spine during the movement. Once the bar passes your knees, you are in the second pull phase of the clean and jerk.
- In the second pull, you simply continue pulling the barbell upward as it passes your knees until it reaches your middle thigh. Once it reaches this point, you’ve reached the explosion phase, which lasts until you’ve pulled the barbell to your hip region. For these movements, push through your feet until your elbows and torso finish in an upright position.
- The next phase is the third pull. In this phase, you need to rotate your elbows and wrists as you go into the front rack position. Toward the end of this movement, use your traps to lift the bar higher and pull yourself under the bar. At the same time, your legs should shift into a squatting position with your hamstrings parallel to the ground.
- You have now reached the receiving position or the “catch phase.” At this point, you should be in a squat position whilst the barbell is racked in front of your shoulders (similar to the front squat). Keep your chest high and elbows up with your triceps almost parallel to the floor.
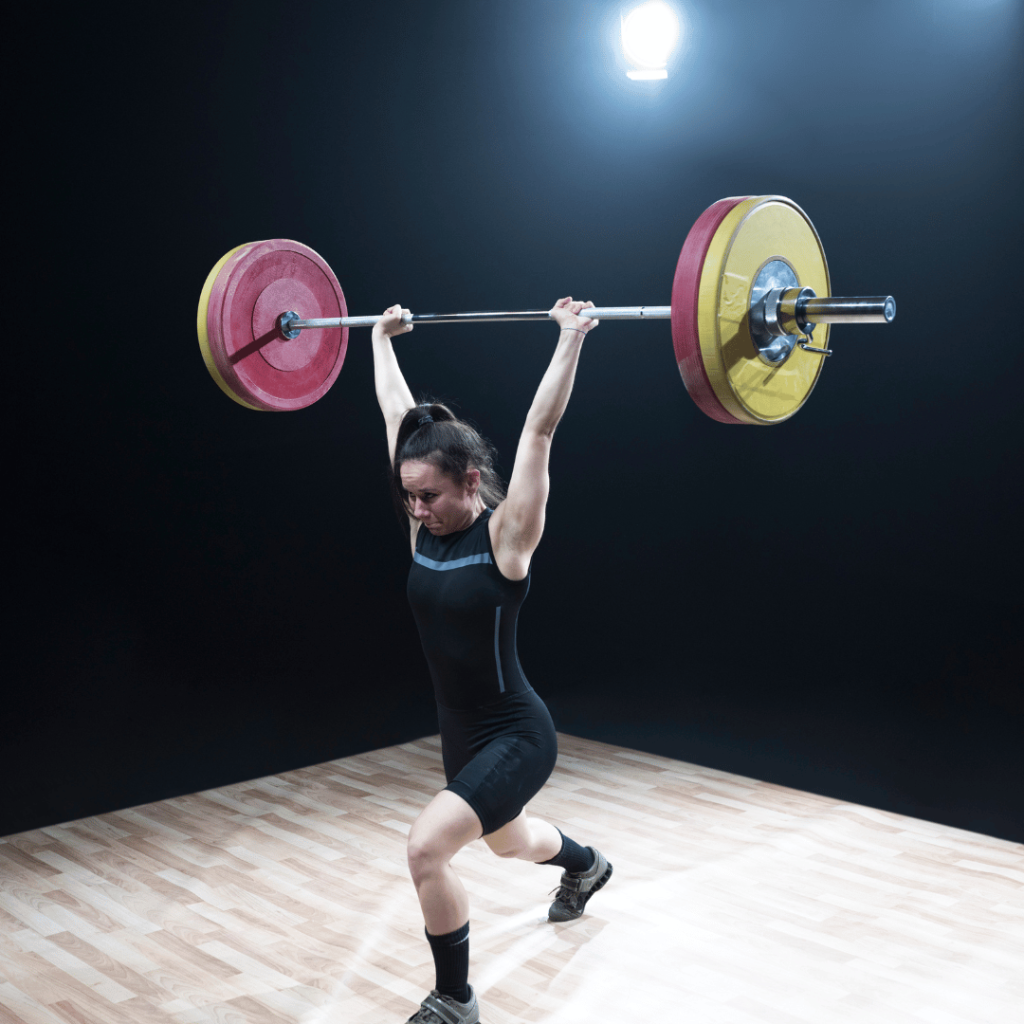
- The next phase is the jerk dip where you lower yourself into a quarter squat. Push your weight toward your heels and maintain an upright torso so you can maintain your balance. This balance is crucial so you can lift the barbell overhead.
- Next up is the jerk drive. As you prepare to lift the barbell overhead, rely on your shoulders, chest, and triceps to stabilise your torso. Then summon your leg strength as you push your body upward and lift the bar.
- The final phase is the receiving position where you fully extend your arms as you quickly lift the barbell overhead. Look straight ahead with your chin in line with your chest. Maintain a neutral spine, plant your feet firmly on the ground, and point your toes slightly outward. At this point, your hamstrings should form a roughly 45-degree angle and your glutes should be sticking out.
Safety Tips
Always keep the following safety tips in mind when doing Olympic lifts.
- Warm up and cool down: Warm up with dynamic movements and light cardiovascular exercise for five to 10 minutes to increase the supply of oxygen to your muscles before doing Olympic lifts. Once you’ve cranked out your final rep, do static stretching to improve long-term mobility and down-regulate the nervous system after a high-intensity session.
- Start light: If you lift too heavy right off the bat, you might end up with injuries that could take months to heal. To prevent this from happening, start off with a warm-up set of 10 repetitions without the barbell plates. Next, add barbell plates of medium resistance and do five repetitions. Finally, add a heavier set of plates and do three reps.
- Do traditional weight training: This strengthens your different muscle groups so you can do Olympic lifts better. The challenge is to incorporate both kinds of training whilst blocking off several days during the week for rest and recovery. Remember, striking a balance is key to solid, long-term results.
- Allot time for recovery: When you do Olympic lifts, do so three times weekly at the most. It’s better if you do them every other day so you can prioritise rest and recovery. Remember, your body wasn’t meant to do these intense exercises daily.
- Hire a certified personal trainer: It’s crucial for newbies at Olympic lifts to get as much help as possible. A personal trainer can check your form and offer valuable advice on how to execute the movements correctly.
Train like an Olympian
Doing Olympic lifts properly is very difficult, which may explain why only the world’s most elite athletes and committed fitness professionals do them! There’s a lot of science behind the movements, and it takes dedication and consistency to pull them off. However, once you have mastered the movements, I’m sure you’ll find the increased power and strength it delivers to be absolutely worth it! Trust me, Olympic lifts will make your fitness level go through the roof unlike any other!
Enjoyed this guide? Check out our other articles here.