 Levelling a Combo Rack
Are you having trouble levelling a combo rack? This is a common problem for a lot of combo racks due to their nature of their design. Their bases typically feature long spans of tube steel. So, if there are level issues with your floor they will most likely appear on your gym equipment.
To give you an example of how sensitive these issues can be, you can have them with a adjustable gym bench like the Ironmaster PRO Super Bench. It has front and rear horizontal base supports. If your floor is uneven and you build it in one spot and use it in another it may rock. Put it back to where you built it, and it is perfectly stable.
Here is a video which shows how when we move our combo rack it starts rocking in certain positions.
IDENTIFYING THE ISSUE
If you have just finished building your combo rack and it has a bit of a rock it is highly unlikely it is a bent part. Even if it was a bent part, replacing a faulty part is no issue. The issue is which part to replace. On an uneven floor, the base section that is not rocking may be the issue. Or it could be the rear cross section.
If your combo rack is rocking after being stable previously it is even more certain that it is a floor issue. The base section parts would be extremely hard to bend in a gym.
The left and right base sections have been designed to handle extreme weights. What makes this part hard to level is the same reason it is unlikely to fail – it has 3 contact points. So the weight will always be distributed evenly. 4mm steel tube is hard to bend at the best of times, but in this case the unsupported spans are minimal.

The point where it could possibly bend is where the angled section is welded. This possibility is addressed by welding a dirty big bracket for the upright.
UNEVEN FLOORS
After installing hundreds of gyms, floors are more likely not to be level than level. By level it doesn’t mean a consistent slope in one direction. It also means inconsistencies – the best way to think is that if you wet the floor with a hose there would be some sections that would have slight pools of water.
Our warehouse floods and there are all these places where it pools and take longer to dry. They are fair dinkum puddles that would be at least 5mm deep. That is why we are so good at levelling equipment!
Another issue with gym equipment is that some people who buy it are bloody strong! If you tighten down really hard on one joint first, sometimes it can lift the part off level. Below is an illustration of how .33degrees turns into a significant level issue over a long span part – like the combo rack base.

So my recommendations for levelling issues are to tighten moderately first, check the level and then tighten. If your level is not right after moderately tightening, loosen again and then put as much weight on as you can. The easiest way to get weight on something is to get some big units to stand on it. If not put on weight plates. The more the better.
FLAT PACK EQUIPMENT IS BUILT FOR UNEVEN FOR FLOORS
When you put a bolt through a hole, there is always some wiggle room – you can sway the equipment. Flat pack equipment is designed to have this play. In many machines there are a lot of joints. Getting every single bracket dead square would be only possible at considerable expense. They are designed to have play so that you can line them up.

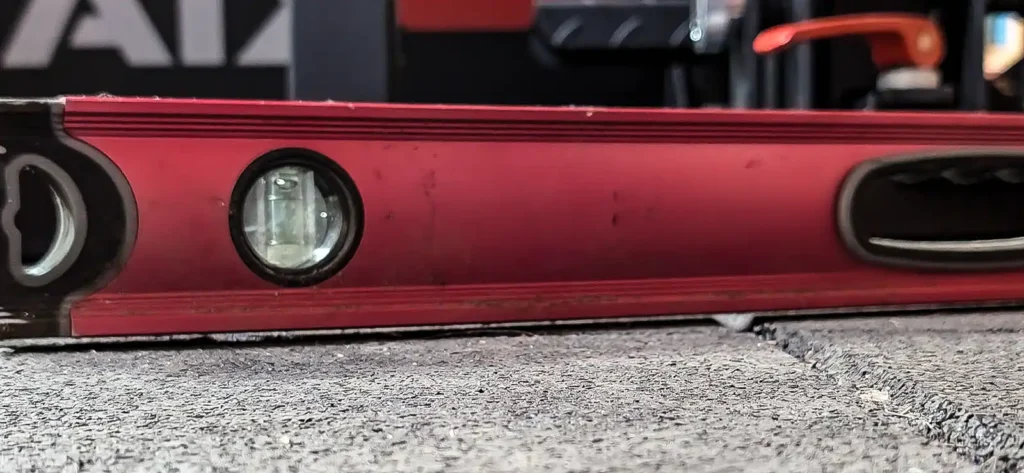
I have built some gyms on dodgy floors. When tightening these ones up I will actually use a magnetic level on uprights and traditional spirit levels for floor sections. As I tighten I keep an eye on the levels. As you tighten you make the necessary adjustments to maintain the level.
Our combo rack was tricky to get level. Simply because our floor is not level. You need to check as many angles as possible around the position you intend on putting your combo rack to see what you are up against. Below you can see that there is quite a large deviation where our combo rack is sitting.
Using the methods outlined above we were able to get our rack nice and level. We were able to get the base to track on the same level as the floor. You can see that all levels are showing roughly the same reading.
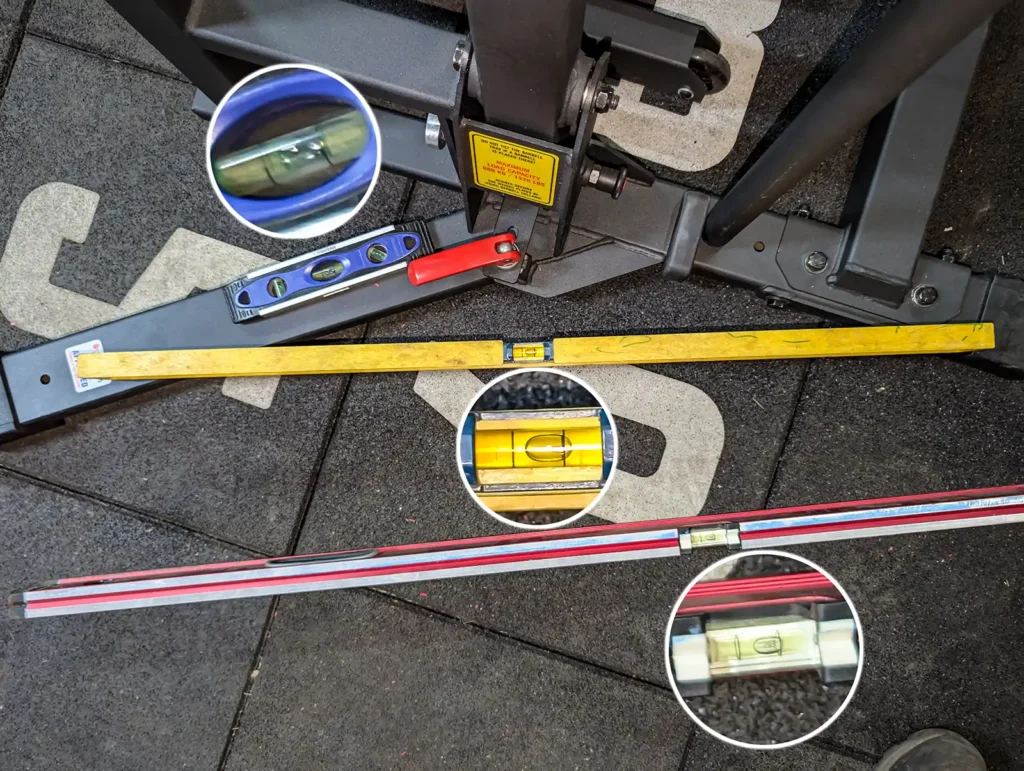
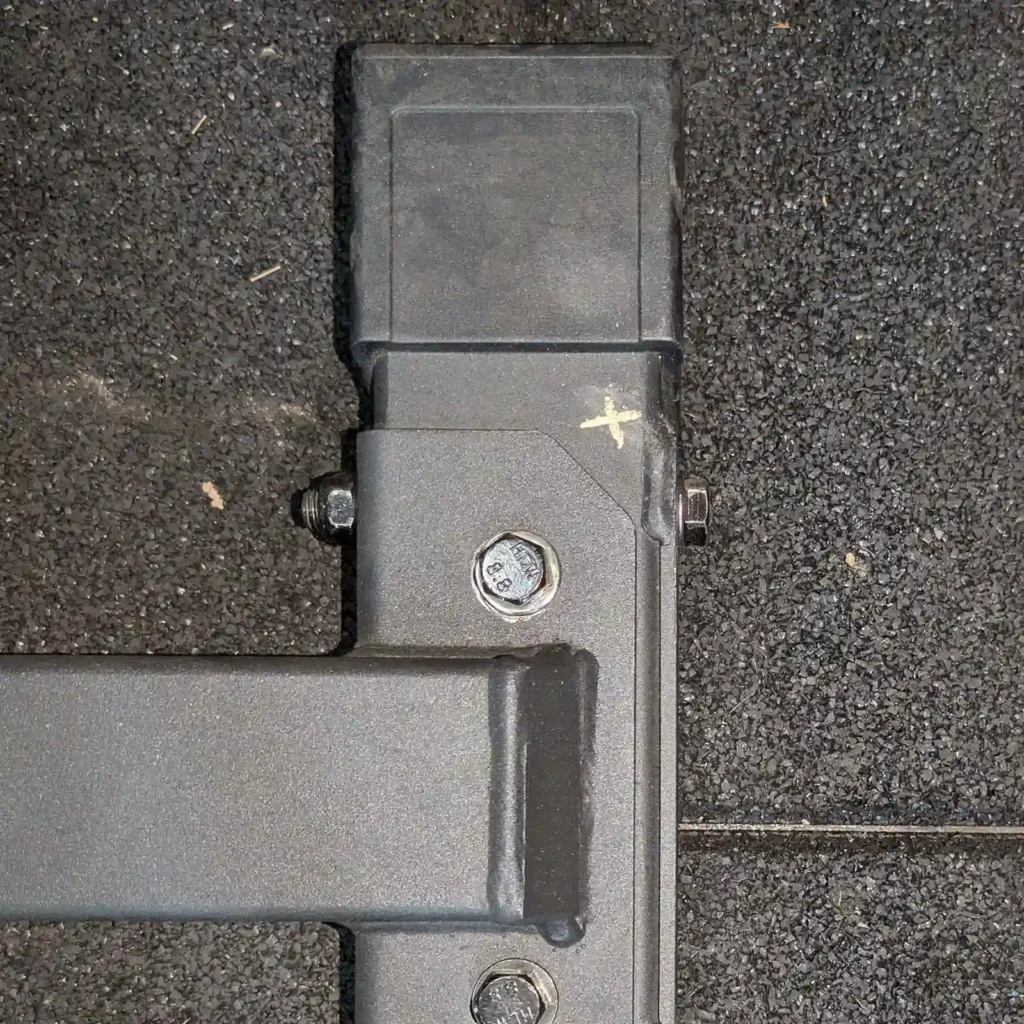
To take the measurement of the combo rack base you need to carefully place the spirit level. You need to find a point that is suitable to cover a significant span whilst sitting flat on the naked frame (you don’t want one end sitting on a rubber foot and one on the frame tube).
Below is the best point marked with the cross. Even then just make sure there is no interference with the weld or bracket. It is only a small spot, but you only need to get a corner of the spirit level on there.
KEEP IT SIMPLE
Now you are not going to need 3 spirit levels to get your combo rack level. If you follow these simple steps you won’t need any:
- The floor has to reasonably level. By this I mean no glaring visual inconsistencies. You would be surprised what floors some people try to assemble gym equipment on. As long as it visually it looks level you should be sweet.
- Build the combo rack exactly where you intend to use it.
- When you are tightening, do not tighten each bolt super tight. Do it like a car wheel, work your way around all the nuts. Even do one bolt one side, then do one on the other side. Take 2-3 circuits of gradually tightening. Check the level on each circuit.
- If it is not level, loosen off and put on some weight to get it level. Then start the tightening process again.
Once your bench press squat rack is level and you intend on moving it – whether it be for cleaning or competitions – it would be a good idea to put some markings on the floor near each corner. This will allow you easily find the correct position when you move it back.

